


Estimate Angle Measurements
Subject: Math
Grade: Fourth grade
Topic: Angle Measurement
Please LOG IN to download the presentation. Access is available to registered users only.
View More Content

Welcome to Angle Measurement!
– Learn what angles are
– Understand angles’ importance
– Angles help us understand shapes, directions, and more.
– Find angles in everyday life
– Look around! Clocks, tables, and even pizza slices have angles.
– Practice estimating angles
– Use your intuition to guess angle sizes before measuring.
|
Today’s lesson introduces the concept of angles to the students. Begin by explaining what an angle is a way to measure the turn or opening between two lines that meet at a point. Emphasize the importance of angles in understanding shapes, navigation, and in various real-life applications. Encourage students to observe their surroundings and identify angles in everyday objects. Engage the class with hands-on activities where they estimate the size of angles they find around the classroom or at home, using common items like books, doors, or slices of pizza to illustrate. This will help them develop a practical understanding of angles and their measurements.
Understanding Angles
– Definition of an angle
– Formed by two lines meeting at a point
– The vertex of an angle
– The point where the two lines meet
– Angles measured in degrees
– Degrees tell us the size of an angle
|
Begin the lesson by explaining what an angle is, emphasizing that it is created by two lines intersecting at a single point. Show visual examples of angles, pointing out the vertex where the lines meet. Explain that the amount of turn between the two lines is measured in degrees, which helps us understand the size of an angle. Use a protractor as a visual aid to show how angles are measured. Encourage students to think of real-life examples where angles are used, such as corners of a picture frame or the hands of a clock.
Types of Angles
– Acute angles: less than 90°
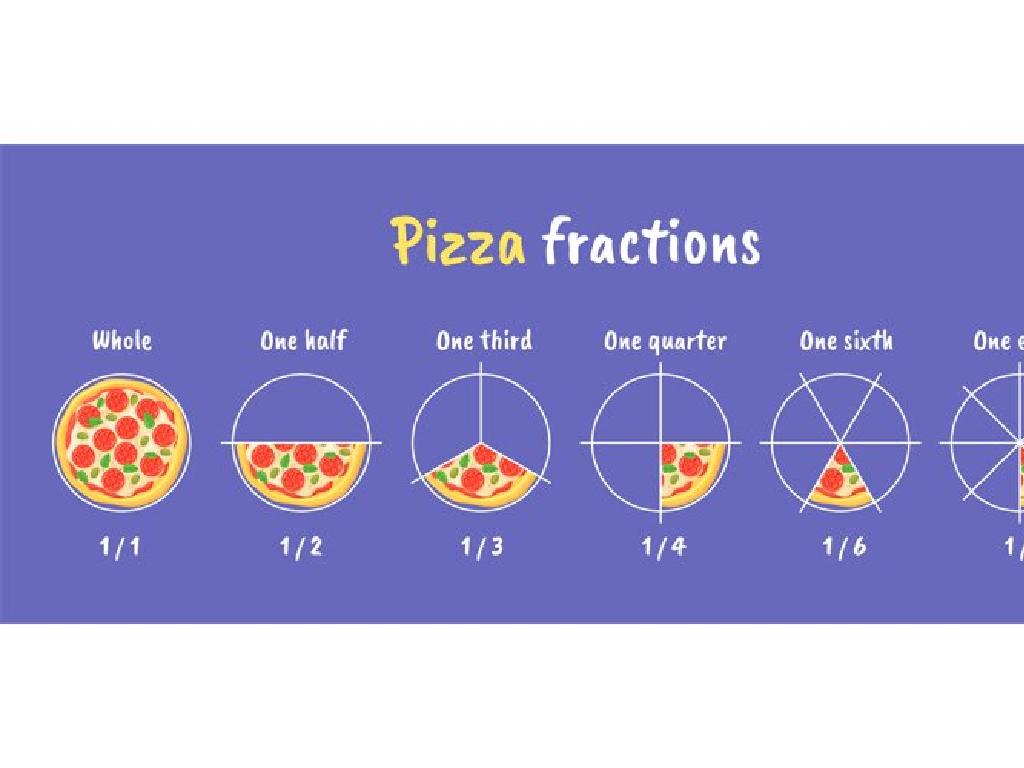
– An angle smaller than a right angle, like a slice of pizza.
– Right angles: exactly 90°
– Like the corners of a square or the hands of a clock at 3 o’clock.
– Obtuse angles: 90° to 180°
– Larger than a right angle but not a full line, like a fan slightly open.
– Straight angles: exactly 180°
– A straight line, similar to the edge of a ruler or a horizon line.
|
This slide introduces students to the basic types of angles they will encounter in geometry. Acute angles are sharp and small, often seen in everyday objects with sharp points. Right angles are the most common angles, easily identified in many man-made structures and objects like books and tables. Obtuse angles are wider and less common but can be seen in objects like an open door. Straight angles are the easiest to visualize as they form a straight line. Encourage students to find and identify these angles in the classroom and at home to help them estimate angle measurements in real-world objects.
Estimating Angle Measurements
– What does ‘estimating’ mean?
– Estimating is like making a ‘smart guess’.
– Use familiar objects to guess angles
– Think of a clock or a pizza to visualize angles.
– Right angles in everyday life
– A right angle is 90 degrees, like a square corner.
– Practice estimating with objects
|
This slide introduces the concept of estimating angles to fourth-grade students. Begin by explaining that estimating is making a well-informed guess rather than an exact measurement. Use everyday objects, such as clocks showing 3 o’clock or slices of pizza, to help students visualize and estimate angles. Emphasize that a right angle is 90 degrees and can be seen in the corners of a square or rectangle. Encourage students to look for right angles in the classroom. As an activity, students can practice estimating angles by comparing them to objects they are familiar with, such as the angle of an open book or the hands on a clock.
Using a Protractor to Measure Angles
– A protractor measures angles
– It’s a half-circle tool with degree marks
– Place midpoint on the vertex
– The vertex is where the two lines meet
– Align angle’s bottom line with zero
– Make sure the line is straight on the baseline of the protractor
– Read the measurement accurately
– The number where the other line crosses is the angle size
|
This slide introduces students to the use of a protractor for measuring angles, a key skill in geometry. Start by explaining what a protractor is and how it is used. Demonstrate placing the protractor correctly on the vertex of an angle and aligning one line of the angle with the zero mark on the protractor. Emphasize the importance of accurate placement for a correct measurement. Show how to read the number on the protractor where the second line of the angle crosses to find the angle’s measurement. Provide students with protractors and let them practice measuring angles on worksheets or in their environment to reinforce the concept.
Practice Estimating Angles
– Observe angles in everyday objects
– Recall angle types for estimation
– Acute, right, obtuse, and straight angles
– Discuss estimates with a partner
– Explain the reasoning behind your estimates
– Use words like ‘smaller than’ or ‘about the same as’ a right angle
|
This slide is designed to engage students in a practical activity where they apply their knowledge of angle types to estimate measurements in real life. Encourage students to look around the classroom or think of objects at home that have angles, such as the corner of a book or a slice of pizza. Remind them of the different types of angles: acute (less than 90 degrees), right (exactly 90 degrees), obtuse (more than 90 degrees but less than 180 degrees), and straight (exactly 180 degrees). Students should pair up, share their angle estimates, and discuss how they arrived at their conclusions. This peer interaction will help them understand different perspectives and reinforce their estimation skills. As a teacher, circulate the room to listen to discussions, provide guidance, and challenge students to justify their thinking with appropriate mathematical language.
Class Activity: Angle Scavenger Hunt
– Search for angles in the classroom
– List objects with different angles
– Find objects with acute, right, and obtuse angles
– Draw angles on your scavenger sheet
– Guess the angle measurements
– Use estimation skills to guess degrees
|
This interactive activity is designed to help students recognize angles in everyday objects and practice estimating their measurements. Provide each student with a scavenger hunt sheet that includes spaces for listing objects and drawing the angles they find. Encourage them to look for acute angles (less than 90 degrees), right angles (exactly 90 degrees), and obtuse angles (more than 90 degrees). After they draw the angles, ask them to estimate the measurement of each angle in degrees. Possible objects include book corners (right angles), clock hands (various angles), and door wedges (acute angles). This activity will help students apply their knowledge of angles to the real world and develop their estimation skills.
Review and Reflect: Estimating Angles
– Recap on estimating angles
– Importance of angle estimation
– Estimating angles helps in everyday tasks like reading maps or building objects.
– Share scavenger hunt findings
– Mention one object you found and guess its angle.
– Discuss estimated angles
|
This slide aims to consolidate the day’s learning on estimating angles. Start by asking students to recall the key points from the lesson, reinforcing the techniques for estimating angles without a protractor. Discuss why being able to estimate angles can be useful in real-life situations, such as navigation or construction. Encourage students to share one item they found during the scavenger hunt and discuss the angle they estimated for it. This reflection helps students connect the abstract concept of angle measurement with tangible examples and demonstrates the practical application of the skills they’ve learned.
