Make Halves
Subject: Math
Grade: First grade
Topic: Fractions
Please LOG IN to download the presentation. Access is available to registered users only.
View More Content
Welcome to Fractions: Making Halves
– Good morning, little learners!
– Today’s fun lesson: making halves
– Halves are two equal parts
– When you cut something into 2 same-size pieces, each piece is a half
– Halves are the start of fractions
– Learning halves helps us understand bigger fractions later
|
Begin the class with a warm and enthusiastic greeting to set a positive tone for the lesson. Introduce the concept of halves by explaining that when we make halves, we are dividing something into two equal parts. Use tangible examples like cutting an apple or sharing a cookie to illustrate the idea of halves. Emphasize that understanding halves is an essential foundation for learning about other fractions. Plan to have visual aids, such as pictures or actual items, to demonstrate the concept of halves in a way that is relatable and understandable for first graders. Encourage the students to think of examples of halves in their daily lives to make the concept more concrete.
Understanding Halves
– Making halves creates two equal parts
– Each half is one of the two equal parts
– ‘Half’ means one of two equal parts
– Examples of halves in everyday life
– Like cutting an apple into two same-size pieces
|
This slide introduces the concept of halves to first-grade students. Begin by explaining that when we make halves, we are dividing something into two parts that are exactly the same size. It’s important to emphasize that each part is called a ‘half’ and it represents one out of the two equal parts of a whole. Use tangible examples such as cutting an apple, sharing a sandwich, or dividing a piece of paper to illustrate the idea of halves. Encourage students to think of other examples from their daily lives where they might encounter or create halves. This will help them relate the mathematical concept to their own experiences.
Understanding Halves
– What are halves?
– A sandwich in two pieces
– Imagine cutting your yummy sandwich into 2 same size parts.
– A paper folded equally
– Like when we fold a paper to make a card, both sides are the same.
– Halves are everywhere!
|
This slide is aimed at helping first graders understand the concept of halves by relating it to everyday objects they are familiar with. Begin by explaining that a half is one of two equal parts of a whole. Use a real sandwich or a paper cutout as a visual aid to demonstrate cutting or folding it into two equal parts. Emphasize that each part is called a half and that both halves are the same size. Encourage the students to think of other examples where they have seen or can make halves. This will help them recognize the concept of halves in various contexts and understand that fractions are a part of their daily life.
Making Halves with Fractions
– What does ‘half’ mean?
– Half means one of two equal parts
– Ways to make halves
– Cut, fold, or divide things into 2 parts
– Halves must be equal
– Each part is the same size in halves
– Examples of halves
– Like cutting an apple or folding paper
|
This slide introduces the concept of making halves, which is a foundational skill in understanding fractions. Start by explaining that a half means one of two equal parts of a whole. Demonstrate with tangible examples, such as cutting an apple or folding a piece of paper, to show how objects can be divided into halves. Emphasize that for something to be a half, each part must be exactly the same size. Encourage students to think of other examples and perhaps bring items from home that can be halved. This will help them visualize and better grasp the concept of equal parts, which is crucial for their understanding of fractions.
Halves in Shapes
– Shapes can be split into halves
– Cut a square to make triangles
– Diagonally cutting a square from corner to corner gives 2 equal triangles
– Slice a circle for semicircles
– Cutting a circle through the center makes 2 equal semicircles
– Halves are two equal parts
|
This slide introduces the concept of dividing shapes into halves, which is a fundamental aspect of understanding fractions. Emphasize that when we talk about halves, we mean two equal parts. Show a square and demonstrate cutting it diagonally from one corner to the opposite to create two equal triangles. Similarly, illustrate cutting a circle down the middle to form two equal semicircles. Use real-life examples like cutting a sandwich or a pizza to make the concept relatable. Encourage students to think of other shapes that can be divided into halves and discuss how they might be cut to create equal parts.
Halves in Numbers
– Every number can be halved
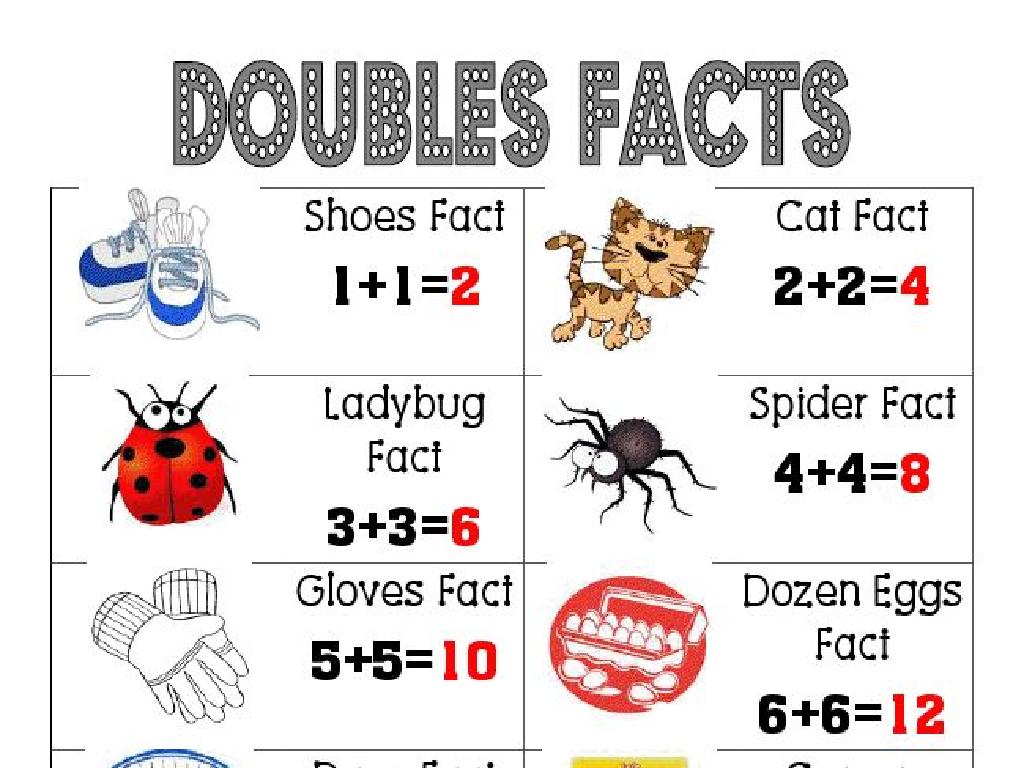
– Half of 2 is 1
– 1 + 1 equals 2, so half of 2 is 1
– Use a number line to divide
– A number line helps us see the halves
– Practice halving numbers
– Try splitting different numbers into halves
|
This slide introduces the concept of dividing numbers into halves, which is a foundational skill in understanding fractions. Start by explaining that every number can be split into two equal parts, or halves. Use simple examples like half of 2 is 1 to illustrate this point. Introduce a number line as a visual aid to help students see how numbers can be divided into halves. Encourage students to practice by halving different numbers, both even and odd, to reinforce the concept. Provide hands-on activities with number lines for students to engage with during the lesson.
Class Activity: Making Halves
– Let’s fold paper into halves
– Now, cut shapes into halves
– Each half must be equal
Equal means both sides are the same size
– Show your halves to the class
|
This activity is designed to give students a hands-on experience with the concept of halves. Provide each student with a sheet of paper and guide them through the process of folding it in half to ensure both sides are equal. Next, help them cut out shapes from another piece of paper and then cut these shapes in half. Emphasize the importance of making sure that each half is the same size, which is the essence of creating halves. Once the students have completed the task, have them present their halves to the class to reinforce the concept and allow for peer learning. Possible variations of the activity could include folding and cutting different colored papers, using the halves to make a collage, or even pairing up students to compare and discuss their halves.
Review: Understanding Halves
– Recap: What are halves?
– Halves are two equal parts of a whole.
– Show and tell: Find halves
– Can you find an object and split it into 2 equal parts?
– Q&A: Ask about halves
– Understanding halves together
– Let’s make sure we all know what halves are!
|
This slide is meant to review the concept of halves with the students. Start by asking them to recall what halves are and discuss the idea that when something is cut into halves, it’s split into two equal parts. Encourage students to look around the classroom or think of examples at home where they can physically see or imagine something being divided into halves. This could be a sandwich, an apple, or a piece of paper. Use this time to address any questions the students might have about making halves, ensuring they understand that each half must be equal. The goal is to solidify their understanding of the concept of halves through interactive participation and to prepare them for more complex fraction concepts in the future.
Fantastic Halves: Wrapping Up!
– Congratulations on learning halves!
– Halves are two equal parts
– When you split something into 2 equal parts, each part is a half
– Practice making halves at home
– Find objects like fruits or paper, and cut them into 2 equal pieces
– Share your halves with family
– Involve your family in your practice for fun and learning
|
As we conclude today’s lesson on halves, reinforce the concept that a half is one of two equal parts of a whole. Encourage the students to practice this concept at home by finding safe items they can split into halves with the help of their family members. This could include simple activities like dividing a sandwich, cutting fruits, or folding and cutting paper. Remind them that the two pieces must be of equal size to be considered halves. Celebrate their understanding and encourage them to demonstrate their knowledge with their families, which will help solidify their learning through teaching others.


