Left And Right
Subject: Social studies
Grade: Kindergarten
Topic: Location Words
Please LOG IN to download the presentation. Access is available to registered users only.
View More Content
Good Morning, Little Explorers!
– Today’s adventure: Location Words
– Location words show where things are
– Like ‘above’, ‘below’, ‘inside’, ‘outside’
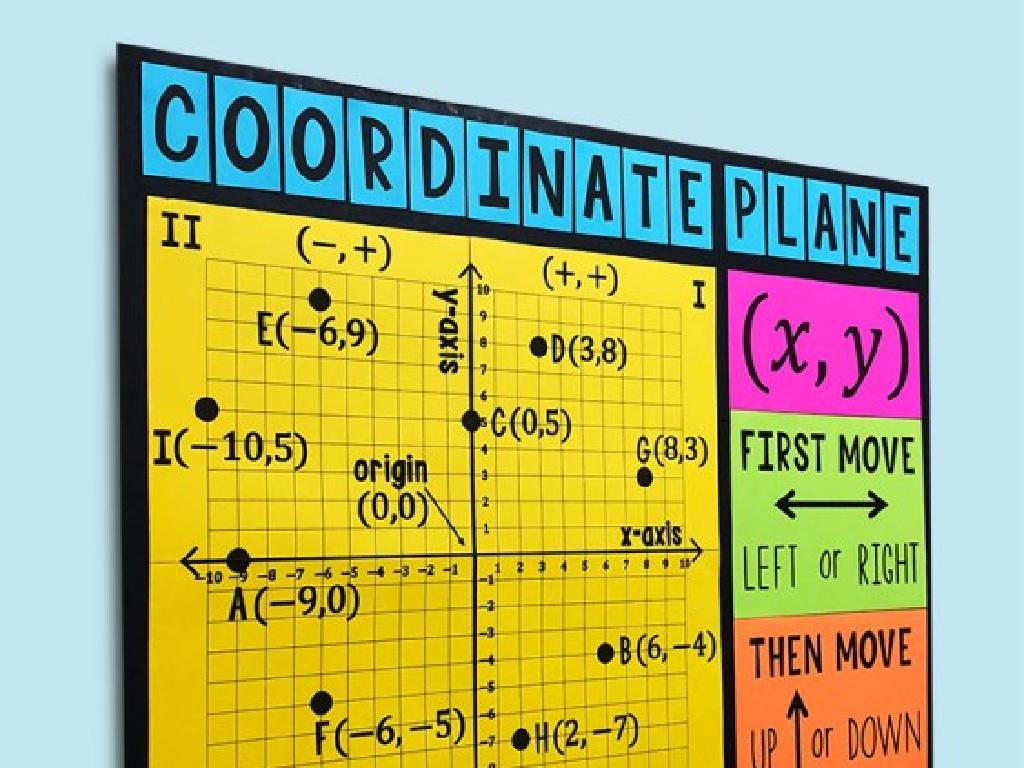
– ‘Left’ and ‘Right’: Important directions
– Your left hand makes an ‘L’ with thumb and index finger
– We use them every day!
– When you write, you start from the left to right
|
This slide is designed to introduce Kindergarten students to the concept of location words, which are essential for describing the position of objects and navigating the world around them. Start with a warm greeting to engage the children and create a comfortable learning environment. Emphasize the importance of ‘left’ and ‘right’ as fundamental location words that they use in their daily lives, such as knowing which shoe goes on which foot, or which way to turn when following directions. Incorporate simple, relatable examples and encourage the children to look at their own hands to identify left from right. The goal is to make the concept of location words tangible and relevant to their experiences.
Learning Left and Right
– Left and right show direction
– They help us decide where to turn or find things
– Use hands to remember
– Your left hand makes an ‘L’ shape with thumb and index finger
– Let’s see your hands!
– Practice makes perfect
– We’ll practice with fun activities to learn
|
This slide introduces the concept of left and right to Kindergarten students, which are basic directional terms. Explain that left and right are used to describe where something is or which way to turn. Show them how to identify their left hand by the ‘L’ shape made with the thumb and index finger. Ask the students to show their hands and identify the ‘L’ on their left hand. This visual cue will help them remember which side is left. Plan several activities where children practice identifying left and right, such as ‘Simon Says’ with directional prompts, or a game where they step to the left or right when called out. Reinforce the concept with daily routines, like lining up or turning pages in a book.
Learning Left and Right
– Raise your left hand high
– Now raise your right hand up
– Left hand forms an ‘L’ shape
– Your thumb and index finger on the left hand will point out an ‘L’
– Practice makes perfect
– Try finding objects on your left and right
|
This slide is designed to help Kindergarten students learn the concept of left and right, which are important location words. Start the class with a fun activity by asking the students to raise their hands as directed. This will help them physically identify their left and right hands. Emphasize the ‘L’ shape trick with the left hand to give them a visual cue to remember. Encourage the students to practice by identifying objects or directions using left and right to reinforce the concept. Make sure to praise their efforts to build confidence.
Left and Right in Our Classroom
– Exploring ‘left’ and ‘right’
– Point to the left-side door
– Can you find the door on the left side of our room?
– Where is the bookshelf?
– Is the bookshelf on the right side? Let’s check!
– Practice identifying left and right
– We’ll learn to tell which side is which
|
This slide is designed to help Kindergarten students understand the concepts of left and right within the context of their classroom. Encourage the students to physically look around and identify objects on the left and right sides of the room. Use clear, simple language and gestures to help them associate the words with the correct direction. For the activity, ask the students to point to the door on the left and then to identify which side the bookshelf is on. This interactive approach will help reinforce their understanding of these location words. You can further this activity by asking students to touch their left or right hand, or by placing stickers on the left or right side of their desks for a visual reminder.
Left and Right in Everyday Life
– Understanding left and right
– Left and right shoes
– Each shoe has a foot: one for left, one for right
– Looking left and right to cross
– Always check both ways for safety
– Practice using left and right
|
This slide introduces the concept of left and right to Kindergarten students, emphasizing its importance in daily activities. Start by explaining that left and right are directions and everyone has their own left and right side. Use the example of putting on shoes to illustrate this concept, as shoes are designed specifically for each foot. Highlight the safety aspect of knowing left and right when crossing the street, teaching them to always look both ways. Engage the students in a simple activity where they identify and label their own left and right hands and feet, and practice by pointing to the direction when prompted. This will help reinforce the concept through physical movement and association.
Practice Time: Left and Right!
– Play ‘Simon Says’ for left and right
– ‘Touch left ear with right hand’
Simon instructs to mix left and right actions.
– ‘Pat head and rub tummy’
A tricky task! Use left hand on head, right on tummy.
– Have fun learning directions!
|
This slide is for a fun and interactive ‘Simon Says’ game to help kindergarteners practice identifying their left and right. The teacher will lead the game by giving commands, and the students will follow by performing actions that involve using their left and right hands. The game should be played in a spacious area where children have room to move around. Teachers should demonstrate each action first and then let the children follow. Possible variations of the game could include: touching the right foot with the left hand, hopping on the left foot while waving with the right hand, or holding up the left hand while touching the nose with the right finger. The goal is to make learning about left and right enjoyable and memorable.
Left and Right Game
– Let’s play a fun stepping game!
– Listen for ‘left’ or ‘right’ calls
– Step on the correct colored spot
– Make sure to step on the color on the side I say
– Who can follow directions best?
|
This interactive game is designed to help Kindergarten students understand and practice the concepts of left and right. As the teacher, you will call out ‘left’ or ‘right’, and students will have to quickly step on a colored spot that corresponds to the side you called out. Before starting, demonstrate what left and right mean, perhaps by using your own hands as a visual aid. Make sure the colored spots are placed on both the left and right sides of each child’s space to avoid confusion. This activity not only reinforces the concept of left and right but also helps with listening skills and following directions. Have a few rounds of the game and praise students for their efforts to encourage participation and make the learning experience enjoyable.
Fun with Left and Right!
– Congrats on learning left and right!
– Let’s decorate paper plates!
– Blue stickers on the left side
This will help us remember left
– Red stickers on the right side
This will help us remember right
|
Great work, kids! Today we’ve learned about the concepts of left and right. To reinforce this lesson, we have a fun activity planned. Each student will receive a paper plate and a set of blue and red stickers. They will be instructed to place blue stickers on the left side of the plate and red stickers on the right side. This hands-on activity will help them visually distinguish between the two sides and aid in memorization. For the teacher: Prepare paper plates and stickers in advance. Guide the students through the activity, ensuring they understand which side is left and which is right. You can also incorporate a song or a dance that involves left and right movements to make the activity more engaging. After the activity, display the plates around the classroom as a colorful reminder of the lesson.

