


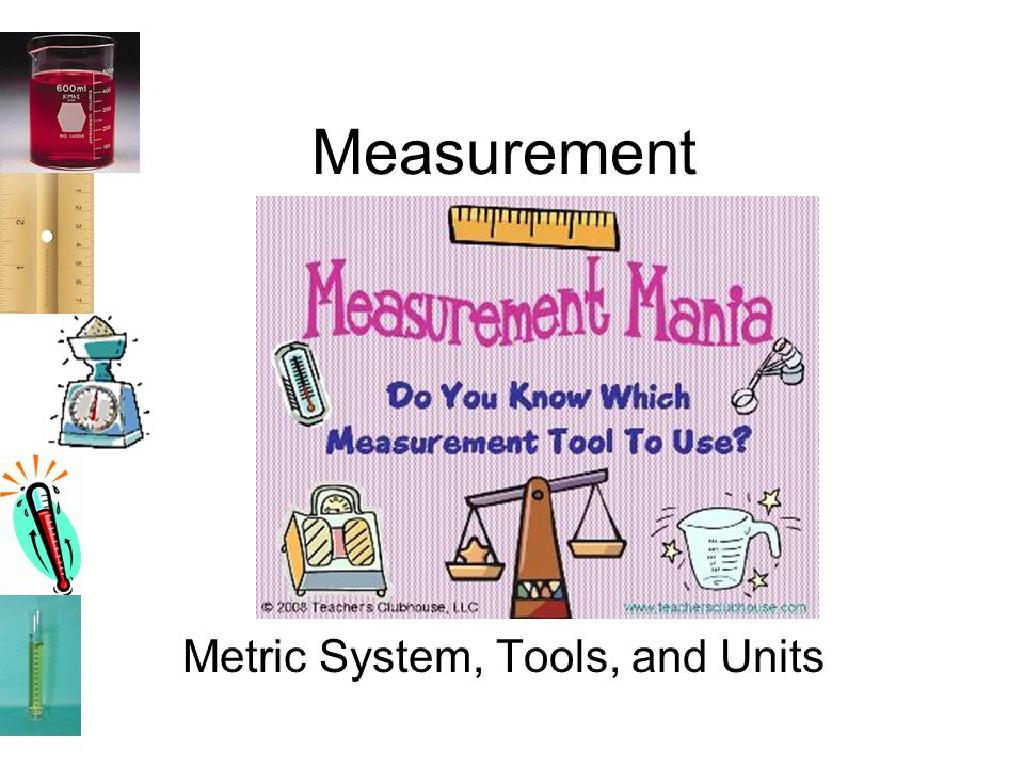
Measure Length With Objects
Subject: Math
Grade: Kindergarten
Topic: Measurement
Please LOG IN to download the presentation. Access is available to registered users only.
View More Content
Welcome to Measurement: Exploring Length
– What is length?
– Length tells us how long something is
– Measuring things around us
– Use objects like blocks or pencils to measure
– Why measuring is important
– Helps us compare and fit things correctly
– Fun with measurement
– We’ll measure items with classroom objects!
|
This slide introduces the concept of measurement to Kindergarten students, focusing on length. Begin by explaining that length is a way to find out how long or short an object is. Show them how to use everyday items like blocks, pencils, or even their own footsteps to measure things. Discuss why measuring is important for example, to know if a bed will fit in a room or to compare the heights of plants. Make the learning process interactive by planning a hands-on activity where students can measure various items in the classroom using non-standard units like paper clips or crayons. This will help them grasp the concept of length in a tangible and engaging way.
Understanding Length
– What is length?
– Length is how long something is end to end.
– Measure with objects
– Use everyday items like blocks or pencils to find out length.
– Using blocks to measure
– How many blocks long is the book?
– Measuring with our feet
– Walk heel to toe to see how long something is.
|
This slide introduces the concept of length to Kindergarten students. Begin by explaining that length is a way to find out how long something is from one end to the other. Demonstrate how to measure length using non-standard units like blocks, pencils, or even their own feet, which are tangible and familiar to the students. Show them how to line up blocks end-to-end alongside an item to measure its length. Encourage them to walk heel to toe to measure larger distances. This hands-on approach helps students understand the concept of measurement in a fun and interactive way. Prepare to have various objects available for the students to practice measuring during the next class.
Measuring Length with Objects
– Use objects to measure length
– Measure a book with blocks
– Place blocks end to end along the book’s edge
– Blocks are equal size
– Ensures accurate measurement
– Count blocks to find length
– Each block represents a unit of measure
|
This slide introduces the concept of non-standard measurement to Kindergarten students, using everyday objects such as blocks. Start by explaining that objects can be used to measure things when we don’t have a ruler. Demonstrate measuring the length of a book by placing blocks end to end along the edge of the book. Emphasize that the blocks should be the same size for accurate measurement. Encourage students to count the blocks to determine the book’s length. This hands-on activity helps students understand the concept of measurement and prepares them for using standard units of measure in the future. For the class activity, provide various objects for students to measure with blocks, such as pencils, shoes, or toys, and guide them through the process.
Let’s Practice Measuring!
– Measure items using blocks
– Count the blocks for each item
– Align blocks from end to end
– Make sure the blocks start at one end and touch each other with no gaps
– Accuracy is key in measuring
– Double-check your block count to ensure it’s correct
|
This slide is for a hands-on class activity where students will learn to measure the length of various items using blocks as a non-standard unit of measure. It’s important to demonstrate how to align the blocks from one end of the item to the other without leaving any gaps. Emphasize the importance of accuracy by checking that the blocks are touching and lined up straight. Encourage students to count the blocks carefully and to double-check their measurements. Possible items for measurement could include pencils, books, shoes, or small furniture. This activity will help students understand the concept of measurement and develop their counting and fine motor skills.
Comparing Lengths with Blocks
– Understanding longer and shorter
– Using blocks to measure
– We’ll use blocks to see how long things are
– Comparing a pencil and a marker
– Place blocks end-to-end next to each item
– Which is longer?
– Count the blocks to find out
|
This slide introduces the concept of comparing lengths to Kindergarten students. Start by explaining what ‘longer’ and ‘shorter’ mean, using your hands or objects in the classroom to demonstrate. Then, show how to use blocks to measure length by placing them end-to-end next to an object. Use a pencil and a marker as examples, and have the students predict which is longer before measuring. After measuring, ask the students to count the number of blocks for each object to determine the answer. This activity will help them visually understand measurement and develop their counting skills. Prepare to guide them through the process and ensure they understand that the item with more blocks next to it is the longer one.
Class Activity: Measure and Compare!
– Measure items with blocks
– Circle the longer item
– Underline the shorter item
– Share your findings
– Tell the class why one is longer
|
This activity is designed to give students hands-on experience with measuring objects using non-standard units (blocks). Provide each student with a worksheet that has pairs of items to compare. Students will use their blocks to measure the length of each item and then circle the one that is longer and underline the one that is shorter. After the activity, encourage students to share their findings with the class and discuss how they determined which item was longer or shorter. This will help them understand measurement and comparison in a tangible way. Possible variations of the activity could include using different objects to measure with, such as paper clips or crayons, or measuring and comparing distances in the classroom.
Review and Share: Measuring Length
– Review measuring with objects
– Share pencil length in blocks
– How many blocks long was your pencil?
– Discuss importance of measuring
– Measuring helps us compare and use space effectively.
– Reflect on measuring activities
|
This slide is meant to recap the lesson on measuring length with objects. Start by asking the students to remember how to measure objects using blocks or other non-standard units. Then, prompt them to share their experiences by asking about the length of their pencils in blocks. This encourages participation and helps them relate the lesson to a real object they use daily. Discuss why measuring is important, such as understanding size, making comparisons, and planning space usage. Use examples like fitting a book on a shelf or knowing how much ribbon is needed to wrap a gift. Finally, allow the students to reflect on what they’ve learned and how they can apply it in their daily lives. The teacher’s notes should include different activities that can be done with students to practice measuring, such as measuring classroom items, comparing lengths, and ordering objects by size.
Conclusion and Goodbye!
– Excellent measuring work today!
– You can measure length with objects
– Like using blocks to measure a book’s length
– Practice measuring with toys or snacks
– Measure your teddy bear with crayons or cookies
– Keep practicing at home!
|
Well done to all the students for their hard work in today’s lesson on measuring length with objects. Reinforce the concept that everyday items can be used as informal units of measure, such as blocks, crayons, or even snacks. Encourage them to continue practicing at home by measuring their toys, snacks, or any other safe household items. This will help solidify their understanding of measurement and prepare them for more advanced concepts in the future. Remember to praise their efforts and progress to build their confidence in their mathematical abilities.
