Identify Minerals Using Properties
Subject: Science
Grade: Third grade
Topic: Rocks And Minerals
Please LOG IN to download the presentation. Access is available to registered users only.
View More Content
Introduction to Minerals
– What are minerals?
– Minerals are natural, solid substances found in Earth.
– Minerals: Rocks’ building blocks
– Minerals combine to form different types of rocks.
– Common minerals we see
– Examples: Quartz, Feldspar, and Mica
– Exploring mineral properties
– We’ll learn how to identify them by color, shape, and more.
|
This slide introduces the concept of minerals to third-grade students. Begin by explaining that minerals are found everywhere on Earth and are the natural building blocks that make up rocks. Use relatable examples like Quartz, which is found in sand, and Feldspar, which is common in granite countertops. Highlight that each mineral has unique properties such as color, shape, and hardness that we can use to tell them apart. Encourage students to think about and share any minerals they may have encountered in their daily lives. This will set the foundation for further exploration into how these minerals can be identified and classified.
Exploring Mineral Properties
– Minerals have unique colors
– Like blue azurite or green malachite
– Streak shows powdered color
– Rubbing it on a tile shows its streak color
– Luster describes light reflection
– Is it shiny like a diamond or dull like clay?
– Hardness measures scratch resistance
– Can it scratch glass or be scratched by a fingernail?
|
This slide introduces students to the basic properties used to identify minerals. Color is the most obvious feature, but it can sometimes be misleading due to impurities. Streak is more reliable and is tested by rubbing the mineral on a porcelain tile to observe the color of its powder. Luster helps us understand how a mineral reflects light; terms like metallic, glassy, and dull are used to describe it. Introduce the concept of hardness and how it’s measured on the Mohs scale, explaining that a harder mineral can scratch a softer one. Provide examples of minerals with distinctive properties to help students remember these concepts. In the next class, we can have a hands-on activity where students test these properties with real minerals.
Exploring Mineral Properties
– Hardness: The Scratch Test
– Use everyday items to scratch minerals and test hardness.
– Cleavage vs. Fracture
– Minerals break along flat surfaces (cleavage) or uneven surfaces (fracture).
– Density: Heavy or Light?
– Compare how heavy a mineral feels to its size to guess density.
|
This slide introduces students to additional properties that can be used to identify minerals. The hardness of a mineral can be tested using the scratch test; students can use items like fingernails, coins, or paper clips to see if they can scratch the mineral. Cleavage and fracture describe how a mineral breaks; cleavage is when a mineral breaks along flat planes, and fracture is when it breaks with an irregular surface. Density can be observed by comparing the weight of a mineral to its size – a dense mineral will feel heavier than it looks. Encourage students to handle samples and make observations, recording their findings. This hands-on approach will help solidify their understanding of mineral properties.
Identifying Minerals: Exploration Time!
– Use your eyes, what do you see?
– Observe color, shape, size, and texture
– Tools help us be mineral detectives
– Magnifying glass, streak plate, and hardness kit
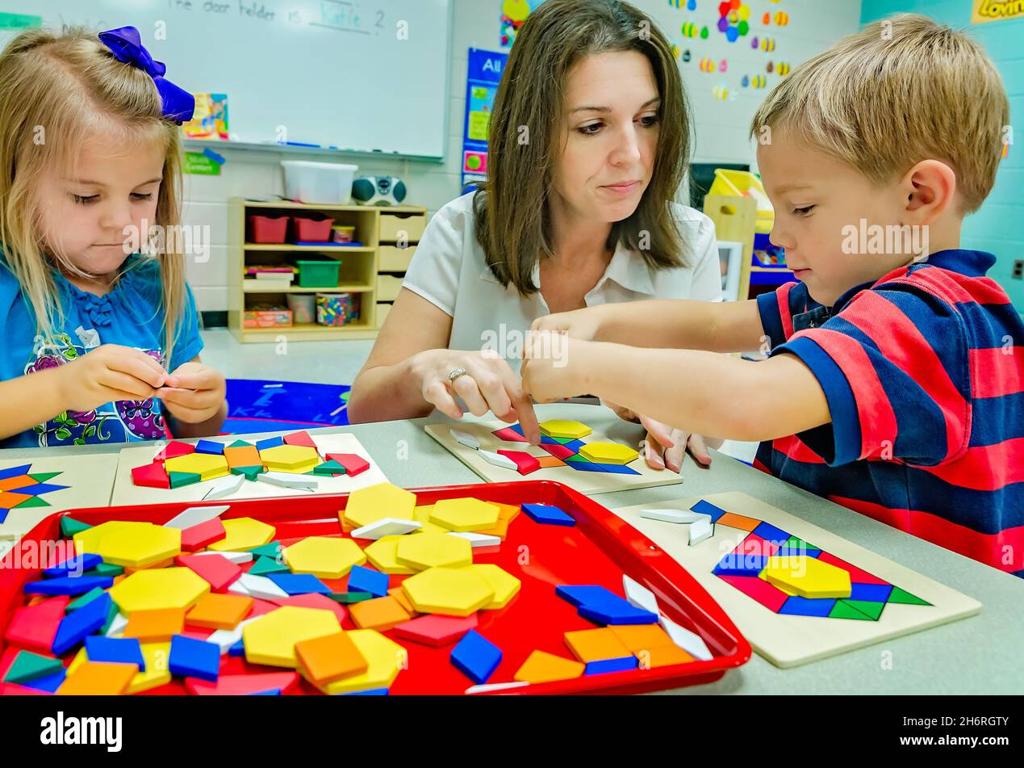
– Time to touch and learn with real rocks
– Feel the weight, texture, and hardness
– Remember, every mineral is unique
|
This slide is designed to engage third-grade students in the hands-on activity of identifying minerals. Start by encouraging them to use their observation skills to note the color, shape, size, and texture of different minerals. Introduce the tools they will use, such as a magnifying glass to see details, a streak plate to observe the color of the mineral powder, and a hardness kit to test scratch resistance. Provide a variety of mineral samples for hands-on practice, allowing students to feel the weight, check the texture, and test the hardness. Emphasize that each mineral has its own set of unique properties that make it different from others. The goal is to foster curiosity and provide a tactile learning experience.
Class Activity: Mineral Identification
– Learn to identify minerals
– Use properties like color & texture
– Look at how shiny or dull the mineral is, and feel if it s smooth or rough
– Record your observations
– Write down the color, size, and any other property you notice
– Share your discoveries
|
This activity is designed to engage students in hands-on learning about mineral properties. Provide a variety of minerals for students to examine. They should use their senses to observe the color, texture, luster, and hardness. Students can perform simple tests like scratch tests or streak tests if materials are available. Each student will record their observations on a worksheet, noting the distinctive properties of each mineral. After the activity, students will share their findings with the class, discussing which properties helped them identify their minerals. For the teacher: Prepare a diverse set of minerals, worksheets for recording observations, and ensure safety guidelines are followed during the activity. Consider having magnifying glasses available for closer inspection of the minerals.
Minerals Around Us: Review & Importance
– Recap mineral properties
– Remember, minerals have unique features like color, streak, and hardness.
– Minerals in daily life
– Minerals are in items like pencils (graphite) and salt (halite).
– Reflect on what we learned
– Get ready for questions
– Think about any questions you might have about minerals.
|
This slide aims to summarize the key points of the lesson on mineral properties and their significance in everyday life. Start by reviewing the properties of minerals, such as color, streak, hardness, luster, and cleavage. Emphasize how these properties help us identify different minerals. Then, connect the lesson to the real world by discussing how minerals are part of everyday objects, like graphite in pencils and halite in table salt. Encourage students to reflect on the new information they’ve learned about minerals. Conclude the lesson by preparing the students for a Q&A session, prompting them to think of questions they may have about minerals, their properties, or their uses. This interactive session will help reinforce their understanding and clarify any doubts.

