Front, Side, And Top View
Subject: Math
Grade: Seventh grade
Topic: Three-Dimensional Figures
Please LOG IN to download the presentation. Access is available to registered users only.
View More Content
Exploring 3D Figures: Views and Perspectives
– Understand 3D figures
– Objects with length, width, and height
– Discover 3D shapes in our environment
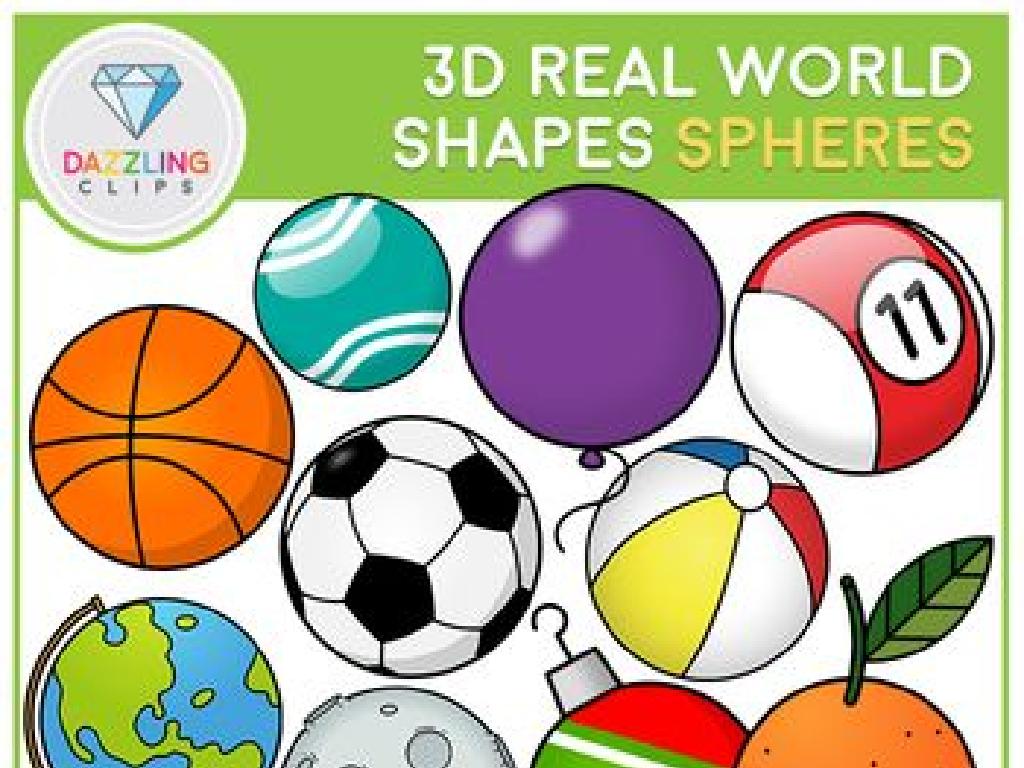
– Everyday items like boxes, balls, and cylinders
– Learn front, side, and top views
– Each view shows a different aspect of the shape
– Importance of different views
– Views help in visualizing & drawing 3D objects
|
This slide introduces students to the concept of three-dimensional figures, emphasizing their presence in everyday life and the importance of understanding different views. Begin by explaining that 3D figures have length, width, and height, unlike 2D shapes which only have length and width. Encourage students to identify common 3D shapes around them, such as boxes (cuboids), balls (spheres), and cans (cylinders). Explain that the front, side, and top views are ways to represent how these shapes look from different perspectives, which is crucial for visualizing and drawing them accurately. Use examples like a shoebox to demonstrate how it looks from various angles. This foundational knowledge will be applied in subsequent lessons involving sketching and interpreting these views.
Exploring 3D Figures in Math
– Define 3D figures
– Objects with length, width, and height
– 2D vs 3D comparison
– 2D are flat, 3D have volume
– Real-life 3D figure examples
– Buildings, dice, cans
– Understanding 3D perspectives
|
This slide introduces students to the concept of three-dimensional figures, distinguishing them from two-dimensional figures. Emphasize that 3D figures have depth in addition to length and width, which gives them volume. Use relatable examples like buildings (cubes), dice (cuboids), and cans (cylinders) to illustrate 3D figures in the real world. Discuss how different views (front, side, top) are used to understand and represent 3D objects on paper. This foundational knowledge will be crucial for students as they learn to visualize and work with geometric shapes in more complex math problems.
Perspectives of 3D Figures
– Understanding 3D perspectives
– Learn to distinguish front, side, and top views of 3D shapes
– Significance of different views
– Views help visualize & interpret the actual shape in 3D space
– Classroom activity: Identifying views
– Find objects in class & sketch their different perspectives
|
This slide introduces students to the concept of viewing three-dimensional figures from various perspectives, specifically the front, side, and top views. Understanding these perspectives is crucial for interpreting and representing 3D shapes on a 2D surface, such as paper. It’s a foundational skill in various fields, including engineering and architecture. The classroom activity is designed to help students apply this knowledge by observing and sketching real-life objects from different viewpoints. This hands-on experience reinforces their spatial reasoning skills and their ability to translate 3D objects into 2D representations. Provide guidance on how to look at objects and discern their outlines from each perspective. Encourage students to share their sketches and discuss any challenges they encountered.
Sketching Views of 3D Figures
– Sketching the front view
– Observe the most details, focus on height/width
– Sketching the side view
– Capture the depth, look from the right/left
– Sketching the top view
– Show the figure from above, focus on layout
|
This slide aims to teach students how to sketch different views of three-dimensional figures, which is a fundamental skill in understanding and visualizing 3D objects. Start by explaining that the front view reveals the height and width of the object without depth. Then, discuss the side view, which shows the depth of the object from a lateral perspective. Finally, describe the top view as looking down on the object, showing the layout but not the height. Encourage students to practice by choosing simple objects like a box or a cylinder and drawing each view on graph paper. Emphasize the importance of perspective and how each view provides unique information about the shape of the object.
Analyzing Objects for 3D Views
– Analyze everyday objects for 3D views
– Look at objects around you and imagine their top, front, and side views
– Engage in group discussions on object views
– Share and compare different perspectives within groups
– Understand view changes with orientation
– Rotate an object to see how each view is altered
– Develop critical thinking about 3D views
|
This slide aims to help students apply their understanding of three-dimensional figures to real-world objects. Students should analyze common objects and visualize their different views. Group discussions will foster collaborative learning as students compare their interpretations of how objects look from various angles. Emphasize the importance of object orientation in changing the perspective of each view. This exercise will enhance students’ spatial reasoning and their ability to mentally manipulate objects, which is a critical skill in geometry. Encourage students to bring in objects for this activity to create a hands-on learning experience.
Class Activity: Viewpoint Exploration
– Choose an object to analyze
– Draw front, side, and top views
Use grid paper to sketch each view accurately.
– Share drawings with the class
– Discuss the different perspectives
Explain how each view represents the object.
|
This activity is designed to help students understand the concept of different viewpoints of three-dimensional figures. In groups, students will select an object and then proceed to draw the front, side, and top views on grid paper, which will help them with proportions and accuracy. After completing their drawings, each group will present their work to the class, explaining how each view represents the object. Encourage students to discuss the differences between each perspective and what details are visible or hidden in each view. This will enhance their spatial reasoning and ability to visualize 3D objects from different angles. Provide a variety of objects for students to choose from and ensure they understand the importance of precision in their sketches.
Understanding Orthographic Projections
– Define orthographic projections
– A method to represent 3D objects in two dimensions
– 3D views vs. orthographic drawings
– How 3D figures are translated to 2D plans
– Orthographic in engineering
– Used to create blueprints of machines
– Orthographic in architecture
– Used for designing buildings and structures
|
Orthographic projections are a key concept in technical drawing, allowing the representation of three-dimensional objects in two dimensions. This slide will introduce students to the definition of orthographic projections and explain their importance in various fields such as engineering and architecture. Students will learn how 3D views of objects are related to their orthographic drawings, which are essential for creating accurate blueprints and plans. Provide examples such as machine parts in engineering or floor plans in architecture to illustrate the practical applications of orthographic projections. Encourage students to visualize how an object can be viewed from different sides to understand how its 3D form can be translated onto a 2D surface.
Class Activity: Crafting 3D Models
– Construct a simple 3D paper model
– Sketch the front, side, and top views
– Relate views to the real model
– How do 2D views correspond to the 3D object?
– Share and discuss with the class
– Explain your views, compare with peers
|
In this hands-on activity, students will apply their understanding of three-dimensional figures by creating their own 3D models using paper. They will then draw the front, side, and top views of their models on a separate sheet of paper. This exercise will help them visualize how 2D representations relate to 3D objects. Encourage creativity in their models but also emphasize the importance of accuracy in their drawings. After completing the activity, students will share their work with the class and discuss the differences and similarities they notice. This will foster a deeper understanding of perspectives and how they are used to represent 3D figures in 2D formats. Possible variations of the activity could include using different materials, creating models of known objects, or working in groups to compare different approaches.
Review and Reflection: Views of 3D Figures
– Recap of 3D figures views
– Front, side, and top views help us understand 3D shapes.
– Significance of each view
– Each view provides unique information about the shape’s structure.
– Engage in Q&A session
– Reflect on today’s learning
– Think about how these views apply to real-world objects.
|
This slide aims to consolidate the students’ understanding of the different perspectives from which a three-dimensional figure can be viewed. Emphasize the importance of recognizing each view to fully comprehend the structure and geometry of 3D objects. Encourage students to ask questions to clear up any confusion they might have about today’s lesson. Use this opportunity to reinforce the practical applications of these concepts, such as in engineering, architecture, and design. Have students reflect on how their ability to visualize different views can help them in problem-solving and understanding the world around them.
Homework: Exploring 3D Figures
– Find 3 objects at home
– Draw front, side, and top views
– Sketch each view on separate paper
– Use graph paper for accuracy
– Ensure views are to scale and proportional
– Present drawings in next class
|
This homework assignment is designed to help students understand the concept of three-dimensional figures by observing real-life objects. Students should select objects that have distinct front, side, and top views to make the exercise more meaningful. Encourage them to use graph paper to maintain scale and proportion in their drawings. This will also aid in their spatial visualization skills. In the next class, students will present their drawings, explaining their process and how they determined each view. This will reinforce their understanding and provide an opportunity for peer learning.


