


Read Clocks And Write Times
Subject: Math
Grade: Second grade
Topic: Time
Please LOG IN to download the presentation. Access is available to registered users only.
View More Content


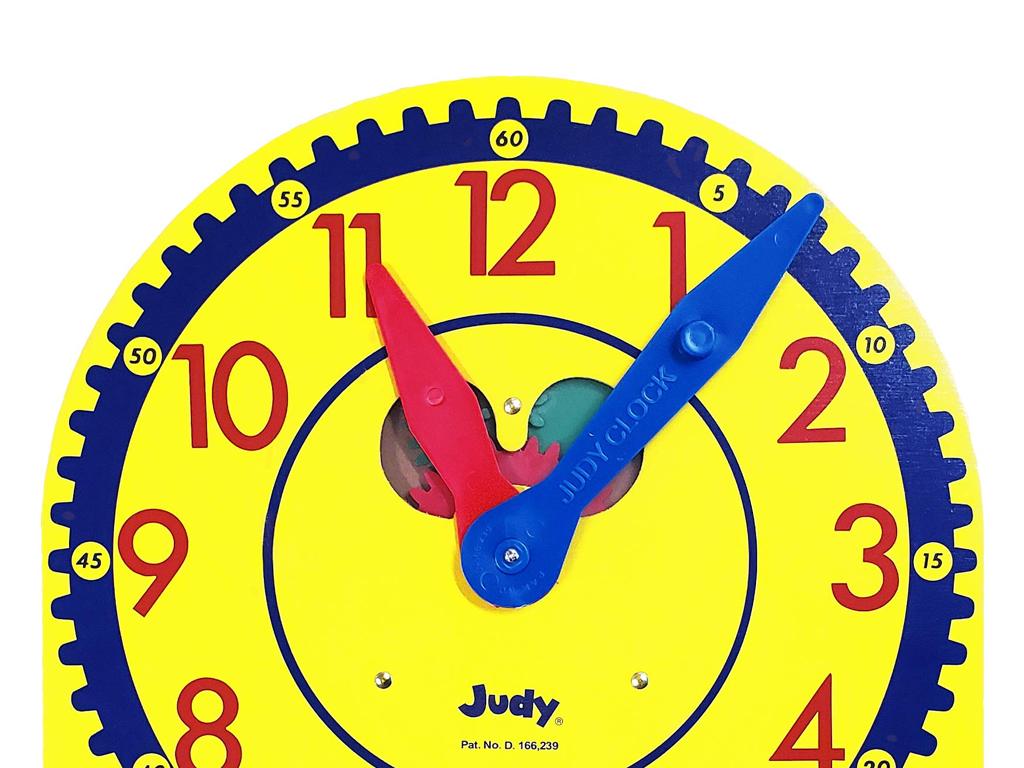
Welcome to Telling Time!
– Learn about the clock face
– Identify hour, minute, and second hands
– Shortest is the hour hand, longest is the minute hand, and the second hand moves fastest
– Practice reading clocks
– Look at where the hands point to tell the time
– Write down different times
|
This slide introduces the basics of reading a clock, which is a fundamental skill in second-grade mathematics. Start by explaining the clock face and its features. Point out the numbers and the three hands of the clock. Explain that the shortest hand shows the hour, the long hand shows the minutes, and the second hand counts the seconds. Use a real clock or a teaching clock to demonstrate. Have students practice by setting the clock to specific times and reading them aloud. Encourage them to write down times you show on the clock for practice. By the end of the lesson, students should be able to read the time to the nearest five minutes and understand the movement of the clock hands.
Understanding Time
– Time tracks events
– Measure time with clocks
– Clocks, watches, and digital displays show time
– Sundials: ancient timekeepers
– Sundials use shadows to tell time
– Time organizes our day
|
This slide introduces the concept of time to second graders. Begin by explaining that time is a way to determine when events happen, such as knowing when to go to school or when to go to bed. Introduce different instruments used to measure time, like clocks, watches, and sundials, and explain that while we mostly use clocks and watches today, sundials were used in the past to tell time using the sun’s position. Emphasize that understanding time helps us to plan our activities throughout the day. Encourage students to share how they use time to schedule their daily routines.
Understanding the Clock Face
– Numbers 1 to 12 on the clock
– The long hand: minute hand
– Points to the minutes; 60 minutes in full circle
– The short hand: hour hand
– Points to the hour; shorter than minute hand
– Some clocks have a second hand
– It’s very thin and moves quickly around the clock
|
This slide introduces students to the basics of reading a clock. Start by explaining the clock face and the numbers 1 through 12, which represent the hours in a day. Then, differentiate between the hands of the clock: the long minute hand, which completes a full circle every 60 minutes, and the short hour hand, which points to the current hour. If the clock has a second hand, describe its rapid movement and its role in measuring seconds. Use a real clock or a classroom visual aid to point out each feature as you explain. Encourage students to practice by pointing out the hour and minute hands on classroom clocks or on practice worksheets.
Understanding the Hour Hand
– Hour hand shows the hour
– The short hand tells us the hour
– It moves slowly between numbers
– It takes 1 hour to move from one number to the next
– Points to 3 means 3 o’clock
– If it points right at 3, it’s exactly 3 o’clock
|
This slide is focused on teaching second-grade students how to read the hour hand on a clock. Emphasize that the hour hand is the shorter of the two hands on the clock. Explain that as time passes, the hour hand moves slowly from one number to the next, taking a full hour to make the transition. Use examples like pointing directly to 3 to illustrate that it indicates 3 o’clock. Encourage students to observe clocks at home or in the classroom and notice the position of the hour hand at different times. You can also use a toy clock to demonstrate this concept in class, moving the hour hand and asking students what time it is.
Understanding the Minute Hand
– Minute hand counts the minutes
– It tells us minutes after the hour has passed
– Each clock number equals 5 minutes
– 1 represents 5 minutes, 2 represents 10 minutes, and so on
– Minute hand at 12 means o’clock
– When it points straight up, it’s exactly on the hour
|
This slide is aimed at helping second-grade students understand how to read the minute hand on a clock. Explain that the minute hand moves around the clock and points to numbers that help us count by fives to tell how many minutes have passed since the last hour. Use examples like pointing to 1 means 5 minutes past, pointing to 2 means 10 minutes past, etc. When the minute hand is on 12, it signifies that it’s exactly on the hour, like 1 o’clock, 2 o’clock, and so on. Encourage students to practice by looking at different clocks and telling the time by observing the position of the minute hand.
Reading the Clock
– Locate the hour hand position
– The short hand shows the hour
– Find the minute hand position
– The long hand shows the minutes
– Combine to read the time
– If hour hand is on 5 and minute hand on 6, it’s 5:30
– Practice with examples
– Example: Hour hand at 3, minute at 12 – It’s 3:00
|
This slide is aimed at teaching second graders how to read analog clocks. Start by explaining the difference between the hour hand (shorter) and the minute hand (longer). Use the clock in the classroom to demonstrate. Then, show how to read the time by looking at the position of both hands. Use clear examples, such as setting the clock to 5:30, and explain that when the minute hand points to 6, it represents half an hour. Encourage students to practice with different times and provide them with clocks for hands-on learning. Make sure to go around the class to assist individual students and correct any misunderstandings.
Writing Times on the Clock
– Times are written with numbers
– Hour number, then a colon, then minutes
– Example: 7:45
– 7:45 shows 7 hours and 45 minutes
– Practice writing different times
– Try writing times like 3:30, 8:15, and 5:00
|
This slide introduces students to the standard format for writing times using numbers and a colon. Emphasize that the hour is always written first, followed by a colon, and then the minute number. Use the example 7:45 to illustrate that it represents 7 hours and 45 minutes. Encourage students to practice writing times by looking at different clock faces and translating the position of the hands into a digital format. Provide several examples and ask students to write times as a class activity, ensuring they understand the concept of hours being before the colon and minutes after.
Understanding AM and PM
– AM: Midnight to noon time
– PM: Noon to midnight time
– Example: 7:00 AM vs 7:00 PM
– 7:00 AM is when you might eat breakfast, 7:00 PM is after school
– Practice writing AM and PM times
– We’ll practice with clocks showing different times of the day
|
This slide introduces the concept of AM and PM to second-grade students, which is essential for reading clocks and understanding the 24-hour cycle of a day. AM stands for the Latin term ‘ante meridiem’ meaning before midday, and PM stands for ‘post meridiem’ meaning after midday. Use relatable examples like breakfast time and evening activities to help students differentiate between 7:00 AM and 7:00 PM. Encourage students to observe clocks throughout the day to become familiar with the concept. In the next class, have various clocks showing different times and ask students to write down if it’s AM or PM, reinforcing their understanding through practice.
Practice Time: Reading Clocks
– Practice reading clocks together
– Write down the times observed
– Understand AM and PM usage
– AM is before noon, PM is after noon
– Activity: Clock Reading Game
– Match digital and analog clocks with correct time
|
This slide is designed for a hands-on class activity where students will practice reading both analog and digital clocks. Provide various examples of clocks showing different times and ask students to write down the time they see on a piece of paper. Emphasize the importance of distinguishing between AM and PM by explaining that AM times are from midnight to noon, while PM times are from noon to midnight. To make the activity engaging, create a game where students match digital and analog clock faces with written times. This will help reinforce their understanding of time-telling in a fun, interactive way. Prepare a set of clock images or actual clocks beforehand, and ensure to have a mix of times that clearly demonstrate the difference between AM and PM.
Class Activity: Craft a Paper Clock
– Create your own paper clock
– We’ll use paper plates, brads, and markers to make clocks with movable hands.
– Practice setting various times
– Set the clock to times I call out, like 3 o’clock or 6:30.
– Partner up for a clock quiz
– Ask your partner to read the time you set and then switch roles.
– Show and tell time-telling skills
|
This hands-on activity is designed to help students learn to tell time by creating their own clocks with movable hands. Provide each student with a paper plate, a brad for the clock hands, and markers to write the numbers. Walk them through the process of assembling their clocks. Once the clocks are made, call out different times and have the students set their clocks accordingly. Then, have them pair up to quiz each other on reading the times they’ve set. This peer interaction reinforces learning and makes the activity more engaging. As a wrap-up, each student can demonstrate their time-telling ability with their clock. Prepare a list of times to call out and consider possible pairings for the quiz portion of the activity.
