Draw Polygons
Subject: Math
Grade: Second grade
Topic: Two-Dimensional Shapes
Please LOG IN to download the presentation. Access is available to registered users only.
View More Content
Exploring Polygons in 2D Shapes
– What are 2D shapes?
– Shapes with length and width, but no depth.
– Characteristics of polygons
– Polygons are 2D shapes with straight sides.
– Drawing different polygons
– Use rulers to draw triangles, squares, etc.
– Fun with shapes activity
|
Begin the lesson by discussing two-dimensional shapes, emphasizing that they have length and width but no depth, which makes them flat. Explain that polygons are a type of 2D shape with straight sides that are fully closed. Show examples of different polygons, such as triangles, rectangles, and hexagons. Provide students with rulers and paper and guide them to draw various polygons, reinforcing the concept of straight, closed sides. For the activity, have students create a colorful collage of different polygons they’ve drawn. This hands-on approach will help solidify their understanding of 2D shapes and polygons.
Exploring Polygons
– What is a polygon?
– A flat shape with straight, closed sides
– Polygons have straight sides
– No curved sides allowed!
– Polygons can have many sides
– From triangles to decagons and beyond!
|
This slide introduces the concept of polygons to second-grade students. Begin by explaining that a polygon is a two-dimensional shape that lies flat on a surface and has straight sides that connect to form a closed figure. Emphasize that all sides must be straight lines; curves are not allowed in polygons. Illustrate with examples like triangles (3 sides), rectangles (4 sides), and pentagons (5 sides) to show that polygons can have many sides. Encourage students to think of polygons as ‘shape detectives’ looking for clues like straight lines and closed figures. Prepare some paper shapes for the next class to help them identify and count the sides of various polygons.
Exploring Polygons: Triangles, Squares, and Rectangles
– Triangles: 3-sided shapes
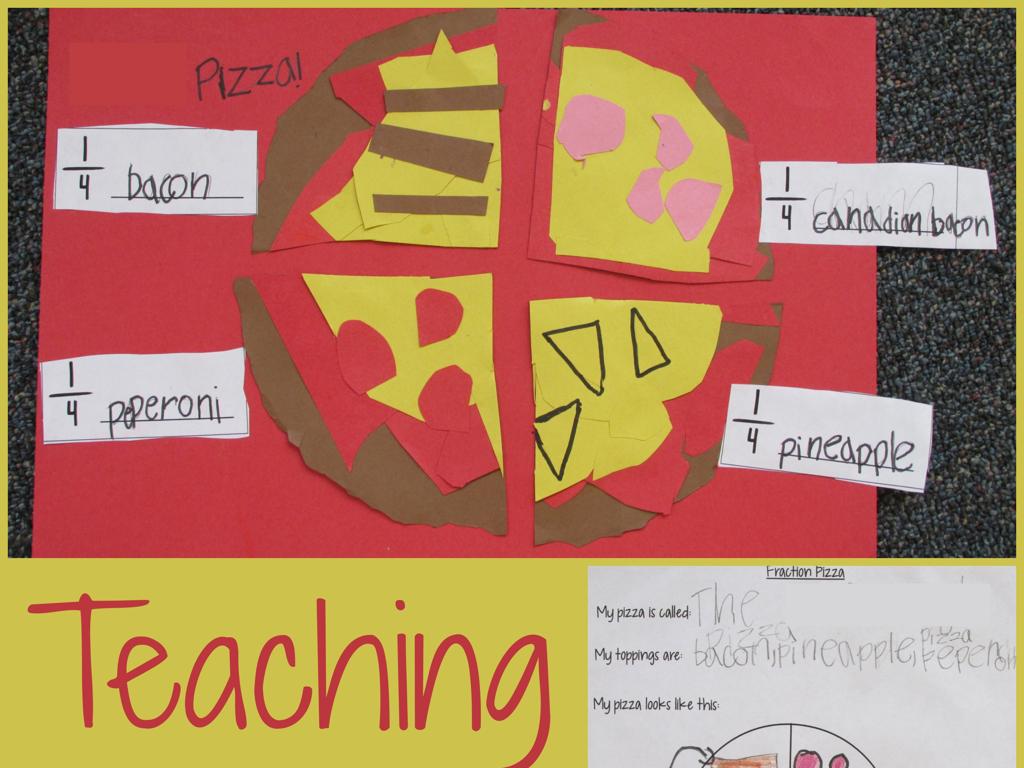
– Example: A slice of pizza is a triangle
– Squares: 4 equal sides
– Example: A checkerboard has squares
– Rectangles: 4 sides, opposites equal
– Example: Your desk’s top is a rectangle
– Polygons have straight sides
|
This slide introduces students to basic polygons, focusing on triangles, squares, and rectangles. Emphasize that polygons are 2-dimensional shapes with straight sides. Use tangible examples like pizza slices for triangles, checkerboards for squares, and a desk for rectangles to help students connect these shapes to real-world objects. Encourage students to look around their environment for these shapes and bring in examples for the next class. This will help them recognize and differentiate between these basic polygons in a fun and interactive way.
Let’s Draw a Triangle!
– Start with one corner
– Draw the first side
– Make a straight line for side one
– Add the second side
– Begin from the end of side one
– Connect back to start
– Close the shape to form a triangle
|
This slide is designed to guide second-grade students through the steps of drawing a simple triangle. Begin by explaining what a triangle is: a three-sided polygon. Then, demonstrate each step visually, starting from one corner and drawing a straight line to create the first side. Next, show them how to draw the second side starting from where the first line ends. Finally, complete the triangle by connecting the end of the second line back to the starting corner. Encourage students to practice by drawing triangles of different sizes. You can also discuss the concept of angles and vertices as they draw. Make sure to walk around the classroom to assist any student who may need help with the activity.
Let’s Draw a Square!
– Start with one straight line
– Turn, draw a second line equal
– Add two more lines the same
– Connect the last line to start
Make sure all sides are equal and corners meet.
|
This slide is a step-by-step activity for students to learn how to draw a square. Begin by instructing them to draw one straight line on their paper. Next, they should turn their paper and draw another line of the same length, ensuring it’s straight and perpendicular to the first. Repeat this process two more times to create a total of four sides. Finally, they should connect the end of the last line to the starting point of the first line, completing the square. Remind them that all sides of a square are equal in length and it has four right angles. Provide guidance on keeping the lines straight and the turns consistent. This activity helps students understand squares and their properties. Have rulers available for students to use if they wish to make precise lines.
Let’s Draw a Rectangle!
– Draw a long straight line
– Turn, draw a shorter line
Make sure it’s perpendicular to the first
– Draw parallel long line
It should be equal in length to the first
– Close the shape
Connect the end of the last line to the start
|
This slide is a step-by-step activity for students to draw a rectangle. Start by guiding them to draw a long straight line on their paper. This will be the base of the rectangle. Next, instruct them to turn their paper and draw a shorter line going upwards; this should be perpendicular to the first line. The third step is to draw another long line parallel to the base, ensuring it’s the same length as the first line they drew. Finally, have them close the rectangle by drawing a line connecting the end of the last line back to the starting point of the first line. Remind students that opposite sides of a rectangle are equal in length and parallel, and adjacent sides are perpendicular. Provide assistance as needed and encourage creativity in decorating their rectangles once they’ve completed the shape.
Drawing with Friends: Polygons
– Pair up and draw polygons together
– Name the polygons your friend draws
– Is it a triangle, rectangle, or another polygon?
– Count the sides of each polygon
– Remember: Polygons have straight sides!
– Discuss the shapes with your friend
|
This activity is designed to be interactive and collaborative, allowing students to engage with the concept of polygons in a hands-on manner. By pairing up, students can practice their drawing skills while reinforcing their knowledge of different polygons and their properties, such as the number of sides. Encourage students to communicate and verify their answers with each other, fostering a collaborative learning environment. As a teacher, circulate the room to assist with any misconceptions and to ensure that students understand that polygons are two-dimensional shapes with straight sides. Prepare to highlight examples of polygons that students may not be familiar with, such as pentagons and hexagons, and discuss the characteristics that define them.
Class Activity: Shape Hunt!
– Let’s hunt for shapes in our room
– Match objects to learned shapes
– Draw the shapes on your paper
Look for circles, squares, triangles, etc.
– Share your shape discoveries
|
This interactive activity is designed to help students recognize and identify two-dimensional shapes in their everyday environment. Encourage the children to explore the classroom and find real-life examples of the shapes they’ve learned about, such as circles, squares, triangles, rectangles, and hexagons. Provide them with paper and crayons or pencils to draw the shapes they find. Once everyone has completed the hunt, have each student present their findings to the class, discussing where they found the shapes and what objects matched each shape. This will reinforce their understanding of polygons and how they appear in the world around them. Possible variations of the activity could include grouping students to work as a team, setting a time limit to make it more challenging, or even extending the hunt to outside the classroom if possible.
Celebrating Polygons!
– Congrats on learning polygons!
– Polygons: flat shapes, straight sides
– Think squares, triangles, rectangles
– Practice drawing polygons
– Try pentagons, hexagons at home
– Show your polygons in class!
|
This slide is a conclusion to the lesson on polygons, meant to reinforce the key characteristics of polygons and encourage continued practice at home. Remind the students that polygons are two-dimensional shapes with straight, closed sides and can have many forms, such as triangles, rectangles, and pentagons. Encourage them to draw different types of polygons to become more familiar with their shapes and properties. Suggest that they bring their drawings to class to share with their peers, fostering a sense of accomplishment and an opportunity for peer learning. Provide positive reinforcement for their efforts in learning about polygons.

